Transform your living space into a masterpiece with perfectly stained wood floors. Ever wondered why your wood floors don’t have that showroom shine? Proper staining might be your answer. In this comprehensive guide, Ryan’s Restoration shares expert tips and a step-by-step process to achieve flawless staining results. From gathering essential supplies to choosing the right stain, we’ve got you covered. Ready to elevate your home’s aesthetic and value? Dive in to learn how to stain your wood floors like a pro!
Gathering Your Supplies for Staining Your Wood Floor
To achieve a professional finish when staining your wood floor, having the right tools and supplies is crucial. Essential tools include brushes, rags, sanders, vacuums, and protective gear. For optimal results, consider using high-quality equipment such as the Clarke RS-16 DC Dust Control Buffer, Bona FlexiSand PowerDrive Buffer, and Clarke Super 7R Edger. These tools ensure efficient sanding and dust control, which are vital for a smooth stain application. When it comes to protective gear, always use gloves, masks, and safety goggles to safeguard against stains and dust particles.
For a seamless staining process, ensure you have all necessary items on hand before you begin. This preparation will save time and prevent interruptions. Below is a comprehensive list of supplies you will need:
- Brushes (for applying stain)
- Rags (for wiping excess stain)
- Sanders (e.g., Clarke RS-16 DC Dust Control Buffer)
- Vacuums (for cleaning dust)
- Protective gear (gloves, masks, safety goggles)
- Painter’s tape (for protecting edges)
- Drop cloths (to protect other surfaces)
- Wood filler (for repairing any damages)
Having these tools and supplies ready ensures that you can stain your wood floor efficiently and effectively, leading to a stunning finish.
Preparing Your Wood Floor for Staining
Before embarking on the staining process, it is essential to prepare both the room and the wood floor meticulously. Start by clearing the room of all furniture, rugs, and any other items. This ensures you have an unobstructed workspace and prevents any accidental damage to your belongings. Removing everything from the room also makes the cleaning process more manageable, allowing you to focus solely on the wood floor.
Next, cover all vents with plastic sheeting and painter’s tape. This step is crucial to prevent dust and debris from circulating through your HVAC system during sanding and staining. Additionally, protect the baseboards and any other trim work with painter’s tape to guard against accidental splashes or spills of stain. Properly taping and covering these areas will save you time and effort in cleaning up later.
Ensuring the room is well-ventilated is another critical preparation step. Open all windows and use fans to promote good air circulation. Proper ventilation helps to dissipate the fumes from the stain, making the working environment safer and more comfortable. Poor ventilation can lead to a build-up of toxic fumes, which can be harmful if inhaled over extended periods.
- Remove all furniture, rugs, and items from the room
- Cover vents with plastic sheeting and painter’s tape
- Protect baseboards and trim with painter’s tape
- Ensure good ventilation by opening windows
- Use fans to improve air circulation
- Keep the room clear and organised
By following these preparation steps, you will create a safe and efficient workspace, setting the stage for a successful staining project. Proper preparation is key to achieving a professional finish on your wood floors.
Sanding Your Wood Floor
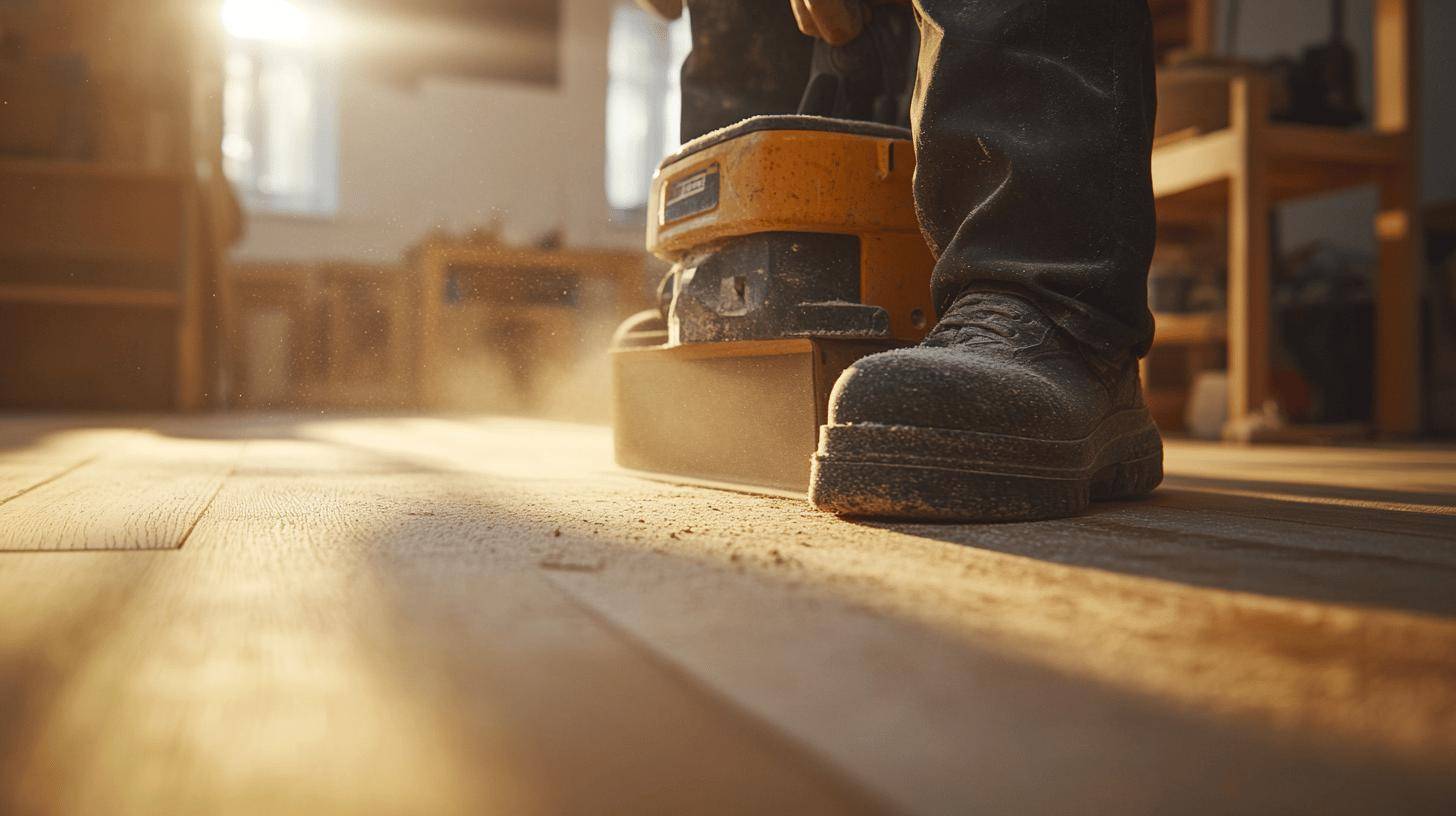
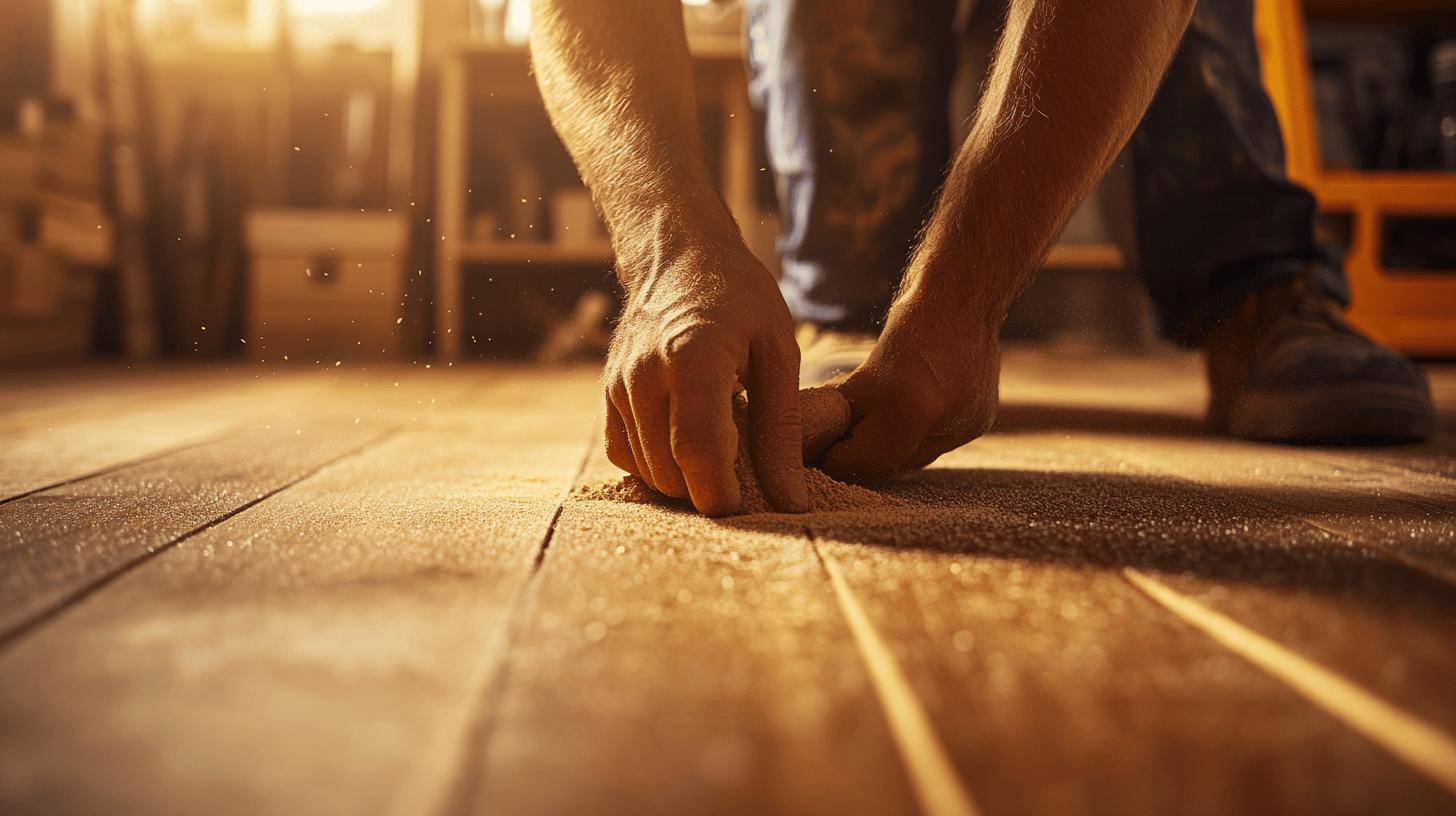
Sanding your wood floor is a critical step in the staining process, as it prepares the surface for optimal stain absorption and ensures a smooth, even finish. Begin by using coarse-grit sandpaper, such as 40 or 60 grit, to remove the top layer of the wood and any existing finish. This initial sanding helps to level the surface and open the wood’s pores. Gradually move to finer grits, up to 120 or 150 grit, to smooth the surface further. Always sand in the direction of the wood grain to avoid scratches and achieve a uniform texture. For large areas, a floor sander is recommended, while an edger is essential for reaching corners and edges.
After sanding, it is crucial to clean the floor thoroughly to remove all dust and debris. Vacuum the entire surface, paying special attention to corners and edges where dust tends to accumulate. Following the vacuuming, wipe the floor with a damp cloth to ensure no dust particles remain. This step is essential as any leftover dust can interfere with the stain’s adhesion and result in an uneven finish. Proper sanding and cleaning set the foundation for a successful staining project.
- Start with coarse-grit sandpaper (40 or 60 grit)
- Gradually move to finer grits (up to 120 or 150 grit)
- Sand in the direction of the wood grain
- Use a floor sander for large areas and an edger for corners and edges
- Vacuum and wipe the floor after sanding to remove dust
By following these steps, you ensure that your wood floor is perfectly prepared for staining, resulting in a professional-looking finish.
Choosing the Right Wood Floor Stain
When selecting the right wood floor stain, it is essential to consider the type of stain, the colour options, and reputable brands. The two primary types of wood stains are oil-based and water-based. Oil-based stains penetrate deeper into the wood, offering enhanced durability and a richer colour. However, they take longer to dry and emit stronger fumes. Water-based stains, on the other hand, dry quickly and are more eco-friendly, producing fewer fumes. They also allow for easier cleanup with soap and water.
Testing stains on a hidden area or scrap wood is highly recommended to ensure you achieve the desired colour and finish. Popular brands such as Minwax, Varathane, and Bona offer a wide range of stain colours and are known for their quality and reliability. Reading wood floor stain reviews can provide valuable insights into how different products perform over time. Additionally, consider the room’s lighting and decor when choosing a colour, as natural and artificial light can affect how the stain appears on your floors.
Conducting a thorough comparison of wood floor stain options can help you make an informed decision. Below is a table outlining the benefits and drawbacks of oil-based and water-based stains:
| Stain Type | Benefits | Drawbacks |
|---|---|---|
| Oil-Based | Deeper penetration, enhanced durability, richer colour | Longer drying time, stronger fumes |
| Water-Based | Quicker drying, eco-friendly, easier cleanup | Less durable, may need more coats |
By considering these factors, you can select the most suitable wood floor stain that meets your needs and complements your space.
Applying the Wood Floor Stain
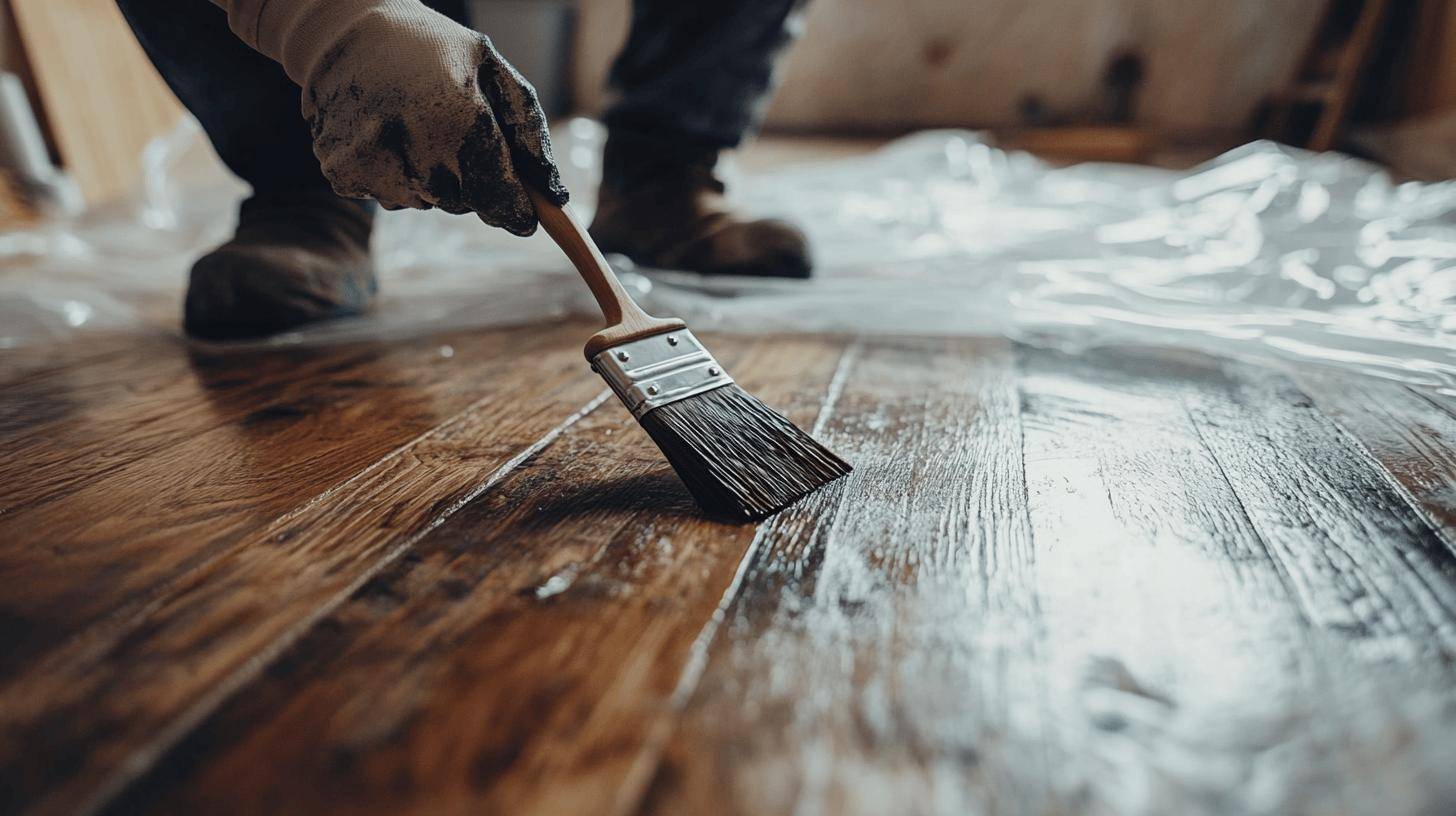
To achieve a flawless finish, it’s essential to apply the wood stain correctly. The first step is to stir the stain thoroughly before starting the application. This ensures that the pigments are evenly distributed, providing a uniform colour. Using a brush or rag, apply the stain in the direction of the wood grain. This method helps the stain penetrate more deeply and evenly into the wood, enhancing the natural beauty of the grain. Working in small sections is crucial to maintaining control over the application and ensuring even coverage.
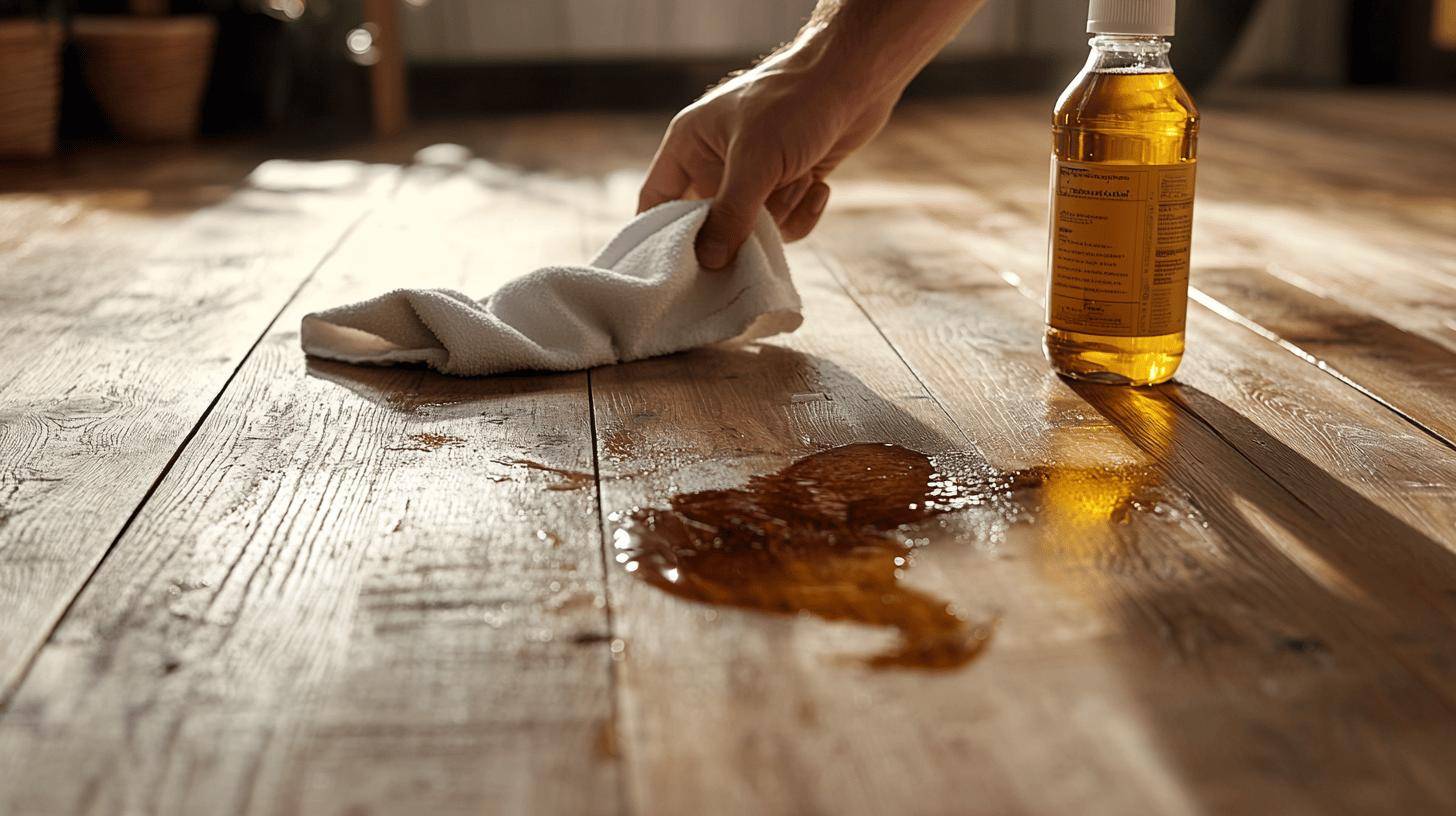
After applying the stain, it’s important to wipe off any excess after the recommended time, which is typically specified by the manufacturer. This step helps prevent blotchiness and ensures a smooth, even finish. For edges and corners, use a smaller brush or pad to reach these areas effectively. Applying the stain carefully in these tricky spots ensures that the entire floor has a consistent appearance. Take your time to cover every inch, paying special attention to corners and irregular areas where the application might be more challenging.
Below is a summary of the key steps for applying wood floor stain:
- Stir the stain thoroughly before application
- Apply the stain with a brush or rag in the direction of the wood grain
- Work in small sections to ensure even coverage
- Wipe off excess stain after the recommended time
- Use a smaller brush or pad for edges and corners
- Ensure all areas are covered consistently, including tricky spots
By following these steps, you can achieve a beautifully stained wood floor with an even, professional finish. Proper application techniques are essential to highlight the wood’s natural beauty and ensure long-lasting results.
Drying and Applying a Second Coat
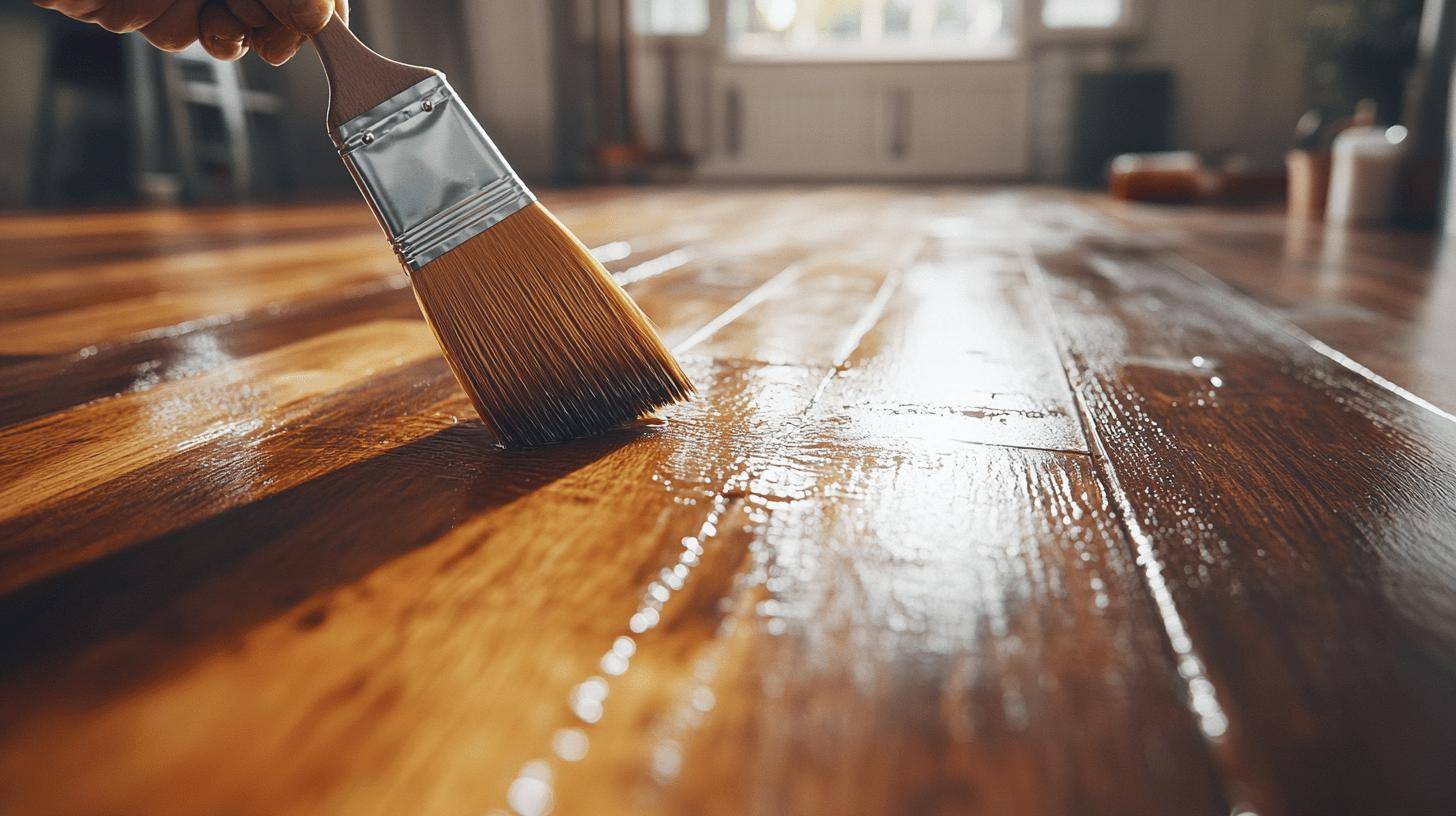
Allow the wood stain to dry for the manufacturer’s recommended time, which is typically 24 hours. During this period, it is crucial to avoid walking on the floor to prevent any disruptions to the stain’s setting process. A well-ventilated room can help speed up the drying time, but always adhere to the instructions provided by the stain manufacturer to achieve the best results. Proper drying is essential to ensure that the stain bonds effectively with the wood, providing a smooth and even finish.
If a deeper colour is desired, a second coat of stain can be applied following the same process as the first. Stir the stain thoroughly before use, and apply it with a brush or rag in the direction of the wood grain. Work in small sections to maintain control and ensure even coverage. Wipe off any excess stain after the recommended time to avoid blotchiness and achieve a consistent colour. Applying a second coat can enhance the richness of the stain and provide additional depth to the wood’s appearance.
- Allow the stain to dry for the manufacturer’s recommended time, typically 24 hours
- Avoid walking on the floor during the drying period
- Stir the stain thoroughly before applying a second coat
- Apply the second coat with a brush or rag in the direction of the wood grain
By following these steps, you ensure that the wood stain dries properly and achieves the desired depth and richness, resulting in a beautifully finished wood floor.
Finishing Your Stained Wood Floor
Applying a clear finish or sealer is crucial to protect your stained wood floor and enhance its appearance. The most common finish options include polyurethane, which comes in various sheens such as glossy, semi-gloss, and matte, as well as oil-based and water-based finishes. Polyurethane provides a durable and water-resistant layer, making it a popular choice for high-traffic areas. Oil-based finishes offer a rich, warm tone but take longer to dry, while water-based finishes dry quickly and are more environmentally friendly.
When selecting a wood floor finish, consider the desired appearance and the room’s foot traffic. Glossy finishes provide a high-shine look, making the floor appear polished and reflective. Matte finishes offer a more natural, understated look, while satin finishes strike a balance between the two, providing a soft sheen that hides imperfections. Use a high-quality brush or roller for applying the finish to ensure a smooth, even coat. Proper application tools are essential to avoid streaks and bubbles, which can mar the final look.
Allow the finish to cure for 2–3 days before moving furniture back into the room. This curing time is critical to ensure the finish hardens properly and provides maximum protection. During this period, avoid walking on the floor to prevent any damage to the freshly applied finish. Below is a table summarizing the different types of finishes, their appearance, durability, and application methods:
| Finish Type | Appearance | Durability | Application Method |
|---|---|---|---|
| Polyurethane (Glossy) | High-shine, polished | High | Brush/Roller |
| Oil-Based | Rich, warm tone | Moderate | Brush |
| Water-Based | Natural, eco-friendly | Moderate | Brush/Roller |
By following these guidelines, you can select the most suitable finish for your stained wood floor, ensuring it remains beautiful and protected for years to come.
Maintaining and Troubleshooting Your Stained Wood Floor
Proper maintenance of stained wood floors is essential to preserve their beauty and longevity. Regular upkeep involves sweeping and mopping with a damp cloth to remove dust and grime. Avoid using harsh chemicals or abrasive cleaners, as these can damage the finish. Instead, opt for cleaners specifically designed for wood floors. Additionally, using furniture pads under table and chair legs can prevent scratches and dents, ensuring your floor remains in pristine condition.
Common mistakes in wood floor staining include uneven stain application and insufficient drying time. Uneven application often results from failing to stir the stain thoroughly or applying it inconsistently. To correct this, lightly sand the affected areas and reapply the stain, ensuring even coverage. Insufficient drying time can cause the stain to smudge or not set properly. Always follow the manufacturer’s recommended drying time, typically 24 hours, to avoid such issues. If problems persist, you may need to sand the floor and re-stain it completely.
Troubleshooting other issues such as scratches or spills involves specific techniques. For minor scratches, lightly sanding the area and applying a matching stain can often resolve the problem. If the scratches are deeper, you may need to fill them with wood filler before re-staining. Cleaning up spills promptly with a damp cloth can prevent stains from setting in. For persistent stains, a mild wood floor cleaner can be used.
- Sweep and mop regularly with a damp cloth
- Avoid harsh chemicals and abrasive cleaners
- Use furniture pads to prevent scratches
- Correct uneven stain application by sanding and reapplying stain
- Follow manufacturer’s recommended drying time to prevent smudging
By adhering to these maintenance tips and troubleshooting techniques, you can keep your stained wood floors looking beautiful and ensure they stand the test of time.
Final Words
Embarking on a wood floor staining project involves several key steps: gathering supplies, preparing the floor, sanding, choosing the right stain, applying it, allowing it to dry, finishing, and maintaining the floor.
A methodical approach will not only enhance the beauty of the wood but also ensure durability and longevity.
By following this step-by-step guide to perfectly staining your wood floor, one can achieve exceptional results.
Trusting in the process and paying attention to detail will lead to a beautiful, professional finish. Enjoy the transformation!
FAQ
How to properly stain hardwood floors?
To properly stain hardwood floors, start by sanding the surface to remove old finish and smooth imperfections.
Next, clean the floor thoroughly, apply the stain evenly with a rag or brush, and wipe off excess.
Allow it to dry as recommended.
How do you stain wood step by step?
To stain wood step by step, first sand the wood with coarse to fine sandpaper.
Next, clean the surface, apply the stain with a brush or rag, wait for the recommended time, wipe off excess, and let it dry thoroughly.
Do you have to sand before staining wood floors?
Yes, you have to sand before staining wood floors to remove any previous finish, smooth the surface, and ensure the stain adheres evenly.
Sanding also opens the wood’s pores for better stain absorption.
How do you refinish a wood floor step by step?
To refinish a wood floor, follow these steps:
- Clear the room and sand the floor.
- Clean thoroughly to remove dust.
- Apply the wood stain evenly and wipe off excess.
- Allow the stain to dry.
- Apply a clear finish to protect the floor.

